我沿着有效边刃的长度放置一个PTEX边墙和一个2厘米宽的白蜡木条。为了使其与板的侧面和厚度轮廓完美匹配,作为该过程的第一步,将该材料添加到芯坯中。将芯坯放置在CNC机床上,并通过坯料钻入对准孔并进入CNC工作台。这允许我从表中移除空白并在以后完美地重新定位它。然后沿着将成为板芯的有效边刃的沟槽布线。这些沟槽的宽度足以将白蜡木条和PTEX边墙固定在一起。
接下来,我从2厘米厚的白蜡木板上裁下白蜡木条。木条的宽度略厚于芯坯的厚度 - 约0.010英寸(0.254mm)。
边墙材料的PTEX塑料条也从半英寸厚的PTEX板上裁下。在粘合到坯料中之前,将PTEX材料在两个粘合面上打磨并燃烧。聚氨酯胶不足以自行形成合理的粘合剂。不执行该步骤经常导致PTEX在芯的CNC加工期间从坯料分层,这是不可接受的。
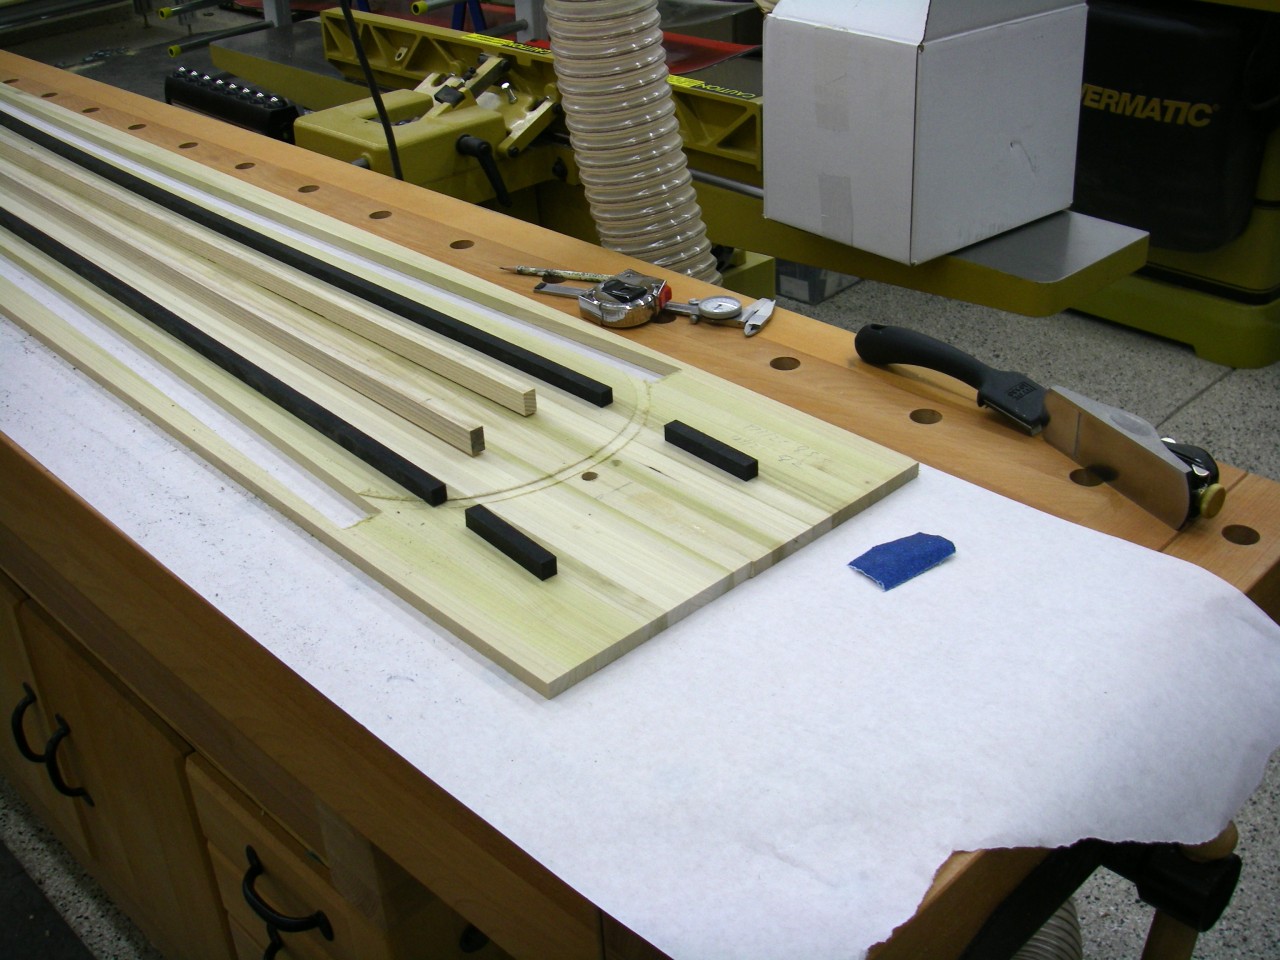
将制备好的PTEX塑料条侧面翻转并镶嵌在芯坯的沟槽中。白蜡木条放置在沟槽中,靠近PTEX塑料条,靠近中心。白蜡木条和PTEX用与制造坯料相同的聚氨酯胶粘合。这为坯料和成型芯提供了足够的粘合,以在整个过程中经受到层压。压制板时使用的环氧树脂提供了这些组件之间的最终结构粘合。
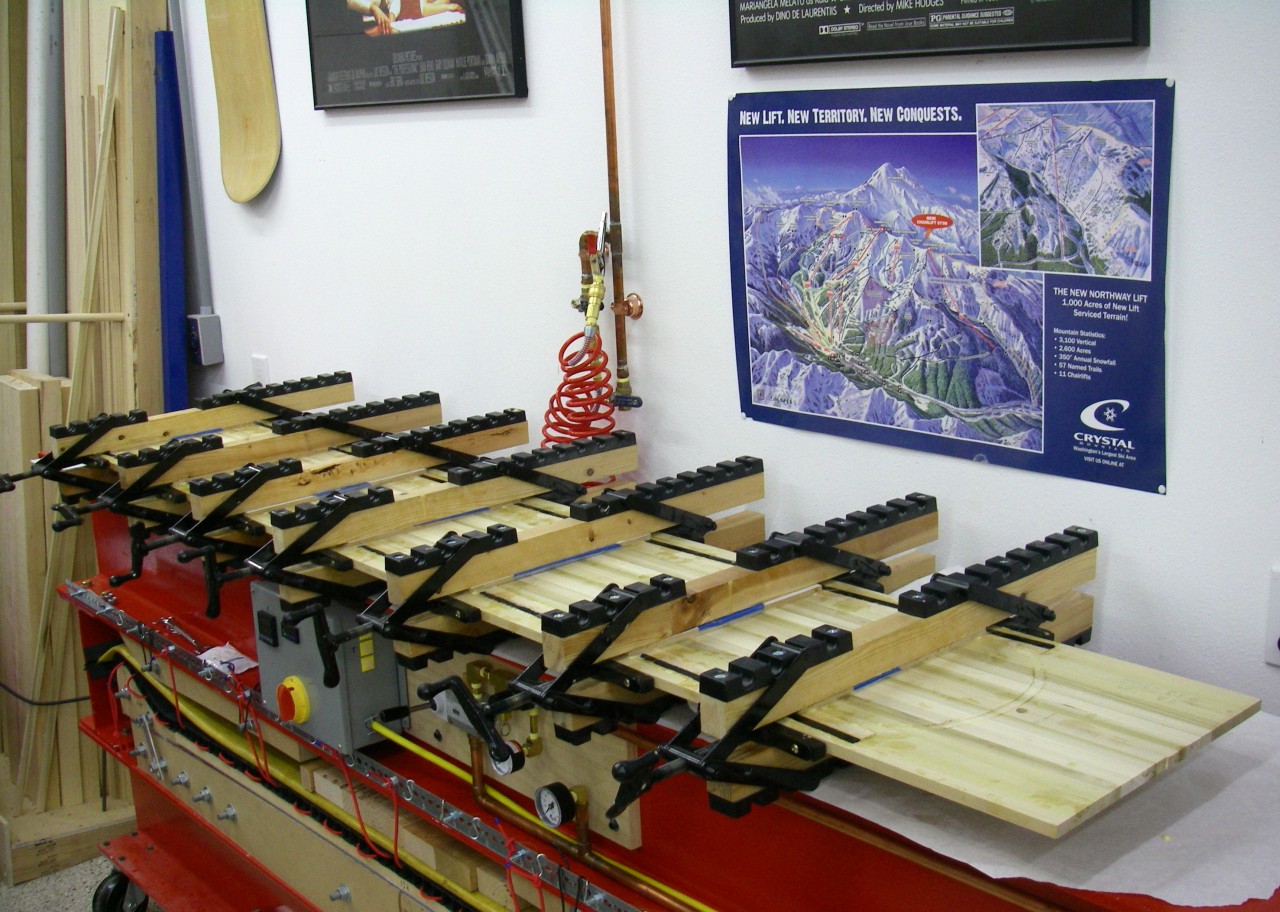
用蜡纸覆盖的木垫片放置在夹子的芯和主体之间的两侧,以防止胶粘到夹子上。
然后将坯料重新夹紧至少12小时,以确保与PTEX的良好粘合。这可以防止它们在层压之前分离。
这是一个简短的视频,显示了从空白板到最终成型板芯的每个步骤,包括白蜡木条和边墙的镶嵌。
Sidewalls: ptex和白蜡木 #
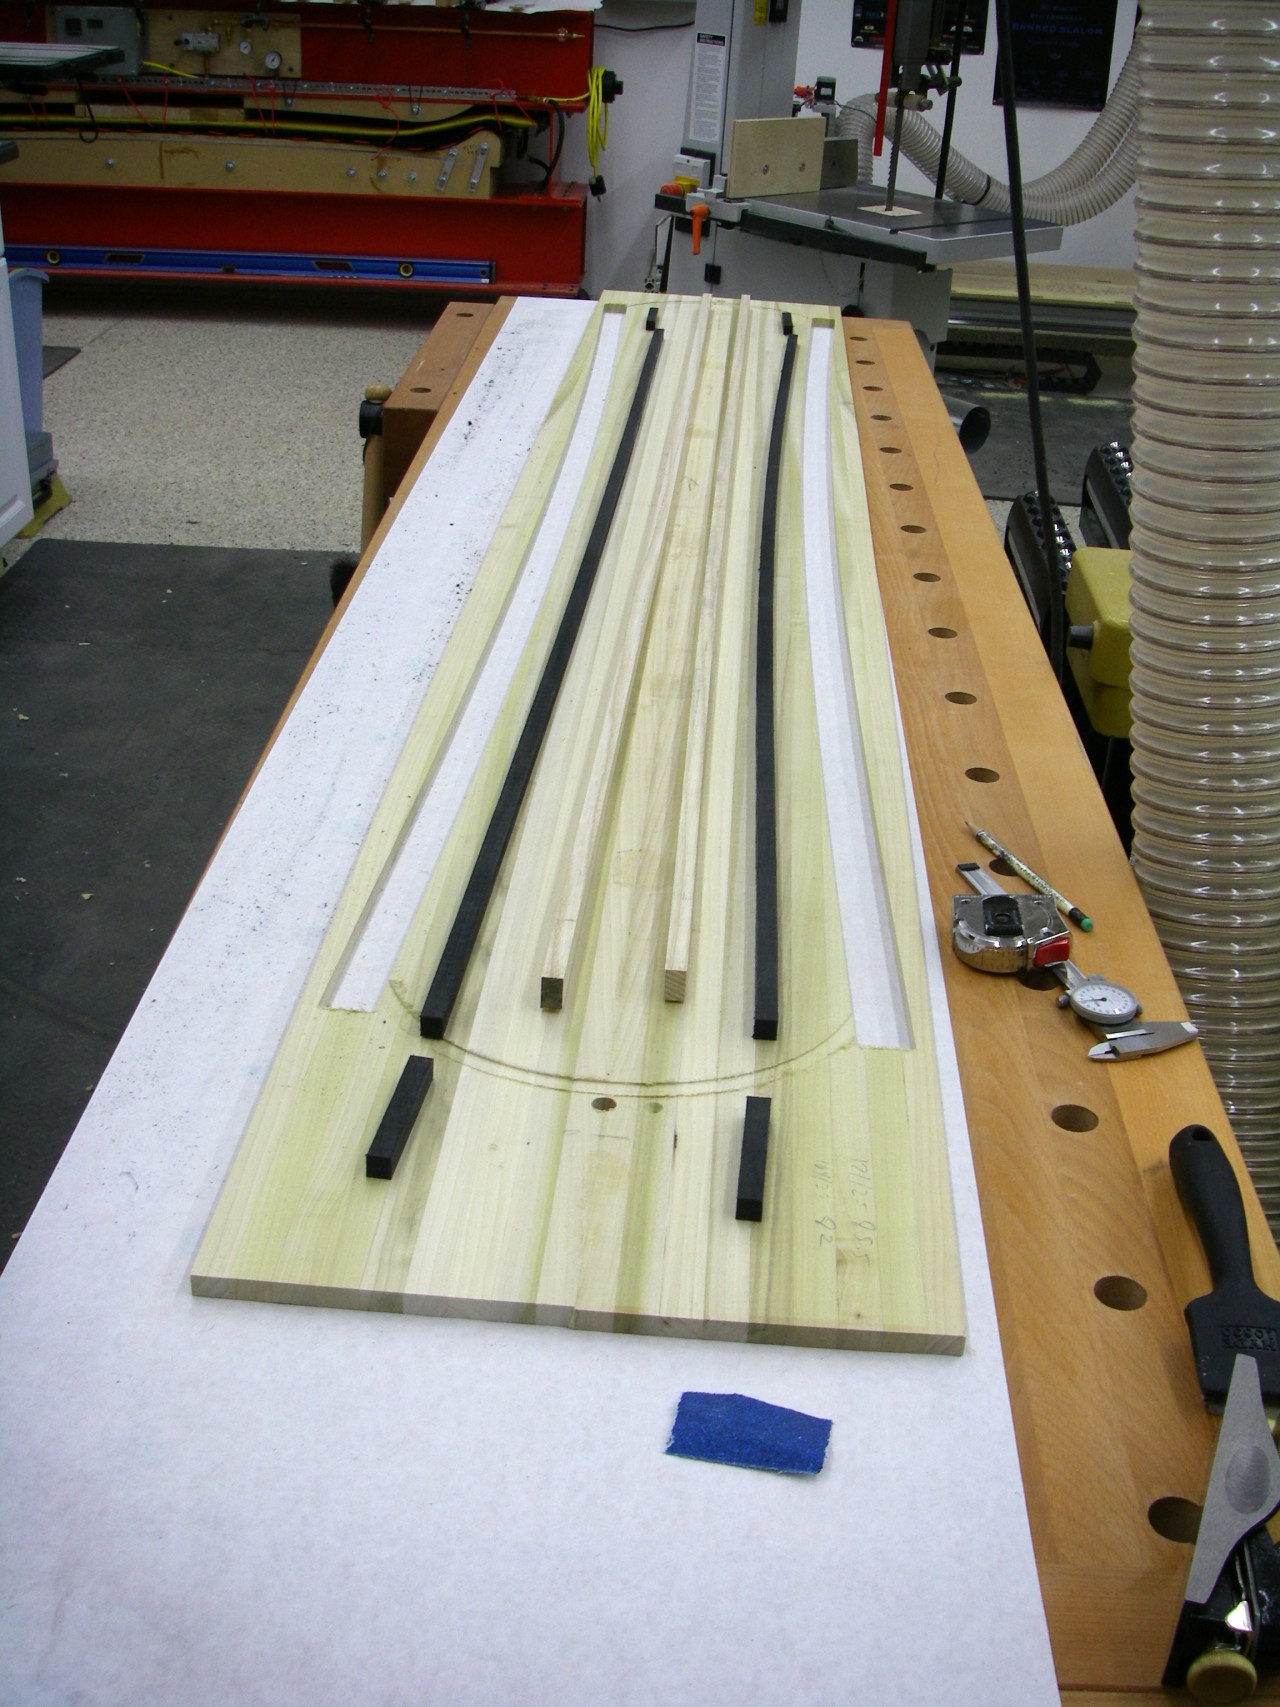
Core blank with trenches ready for PTEX sidewalls and ash edge stringers. Note that this 200cm board required extra pieces of PTEX beyond our normal length at the ends of the effective edge. In this case, they are only filler, to ensure good clamping of the ash, and they’ll be machined away when we make room for nose and tail spacers.
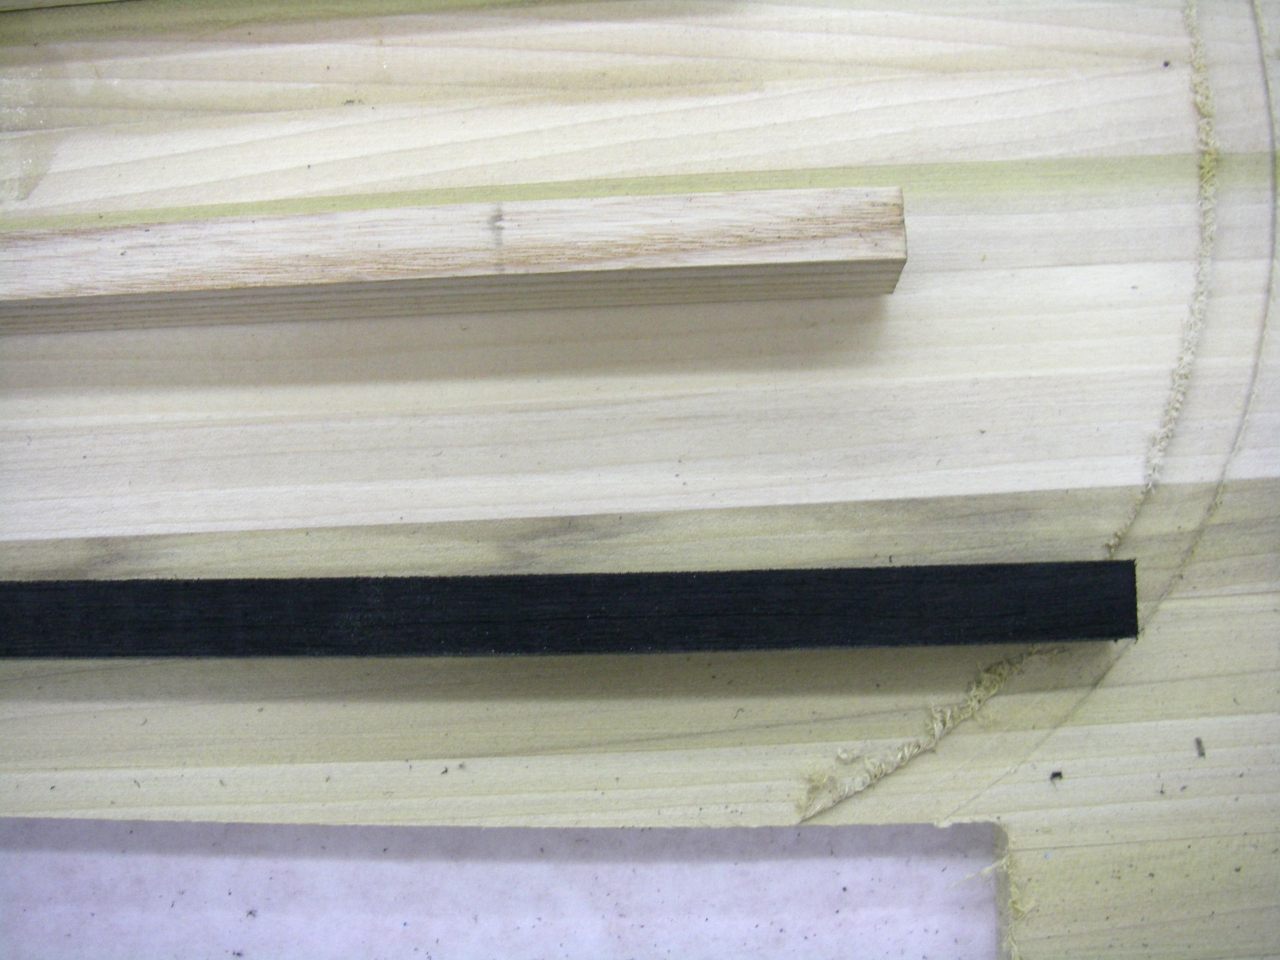
Close up of the core blank, trench end, ash, and PTEX, all ready for glue up.
Core blank with trenches ready for PTEX sidewalls and ash edge stringers. Note that this 200cm board required extra pieces of PTEX beyond our normal length at the ends of the effective edge. In this case, they are only filler, to ensure good clamping of the ash, and they’ll be machined away when we make room for nose and tail spacers.
The blank, with ash and PTEX in place, back in the clamps for the night.
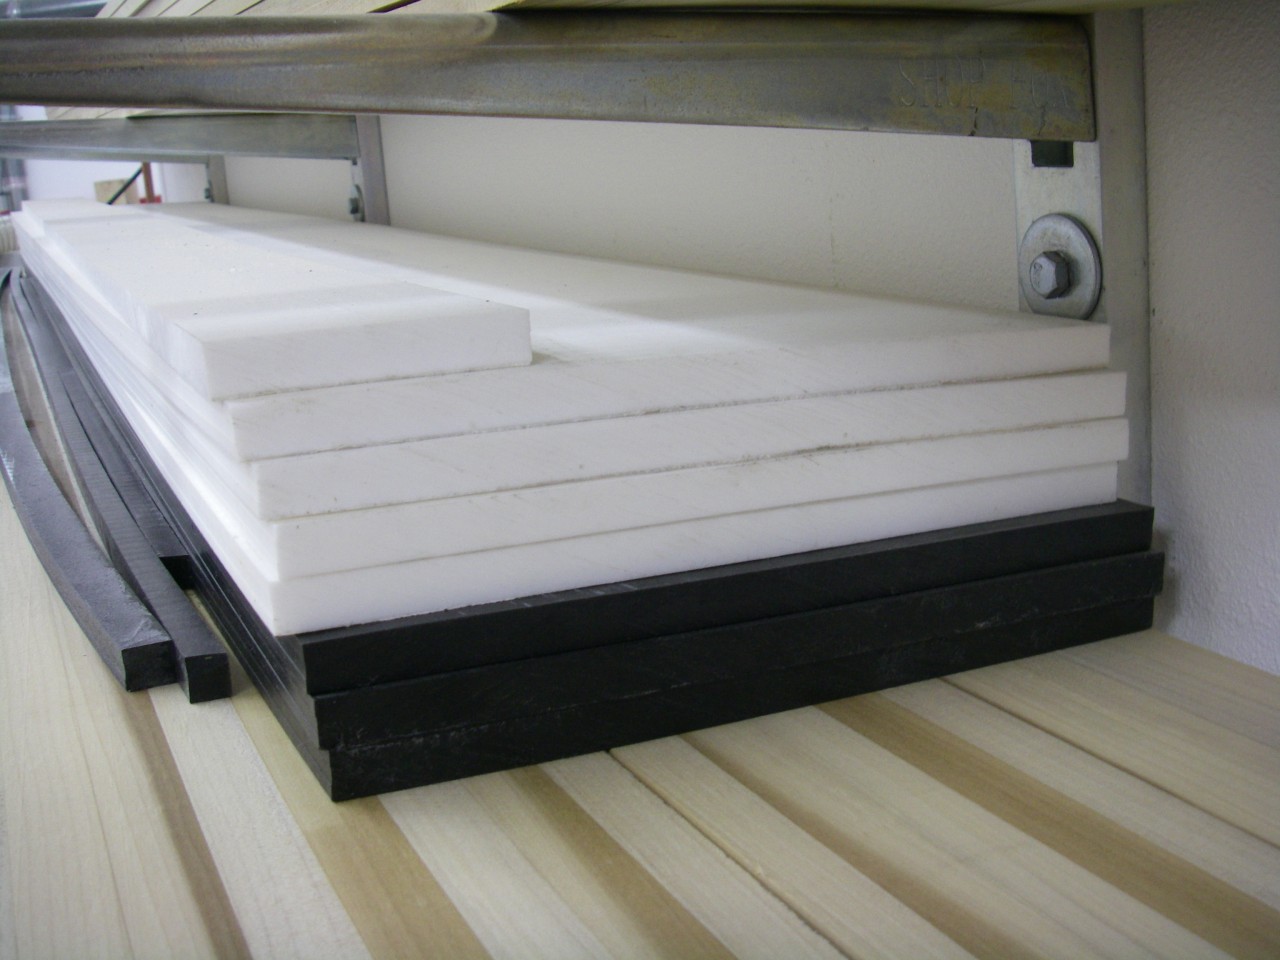
Raw PTEX sidewall material.