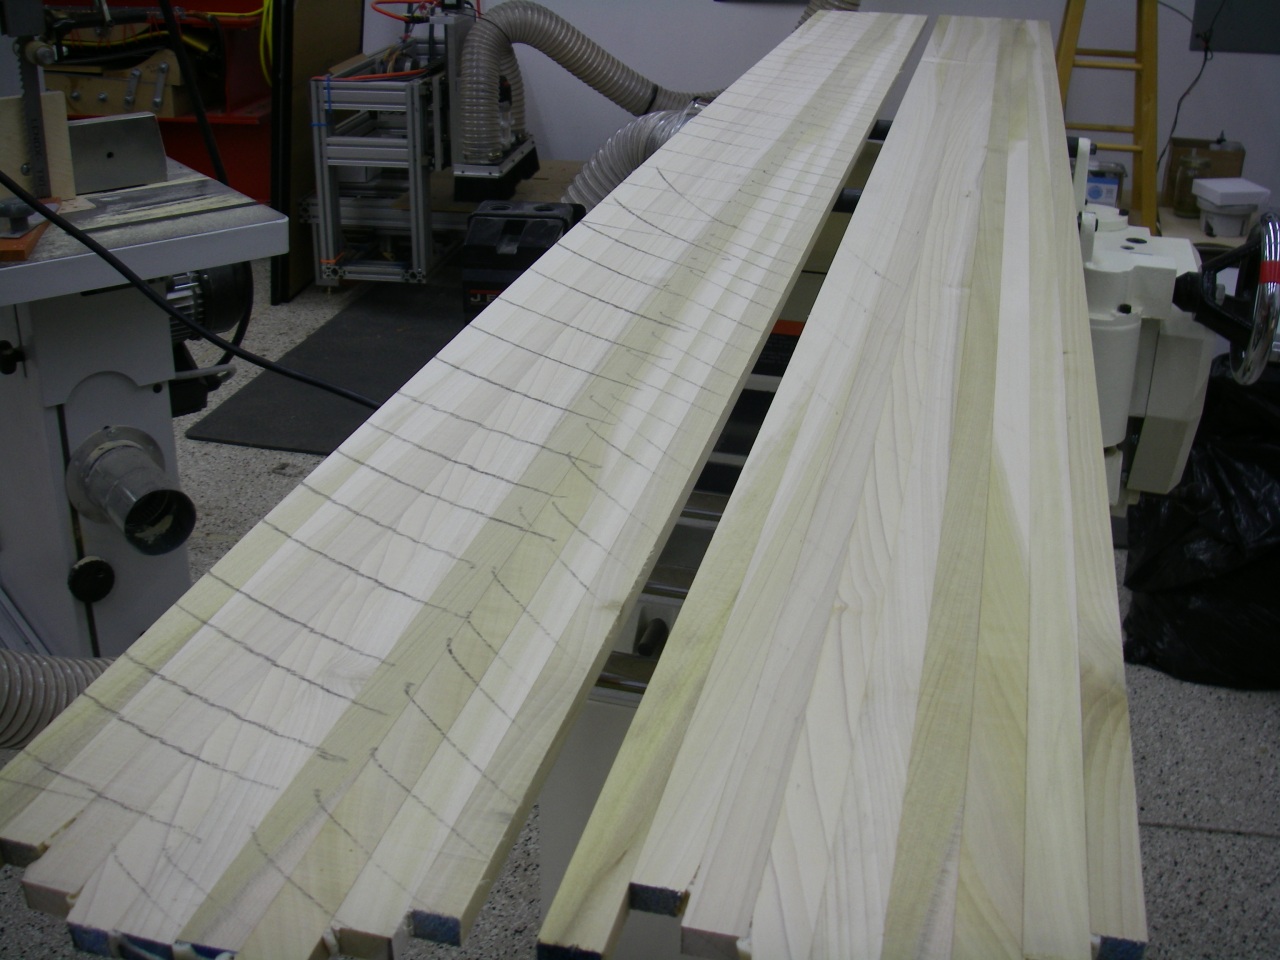
I set my bandsaw up to resaw the stack into slices about 0.5” thick. The stack is less than 2.5” thick from the previous cleanup step, and each pass thru the saw will waste a bit of material as well (the kerf of the blade.) In order to get four slices each 0.5” thick, then, it is critical that the bandsaw is setup well and that you are reasonably practiced at resawing. Don’t practice on one of your precious stacks… use some cheap scrap wood, or even buy a larger beam of wood to practice on. Each side of a slice will eventually have to be perfectly flat, and any wobbles while resawing the stack means lost thickness later. The thicker you can leave each slice, the more freedom you’ll have in your processes later.
There are some excellent articles on resawing linked on the Woodworking Resources page.
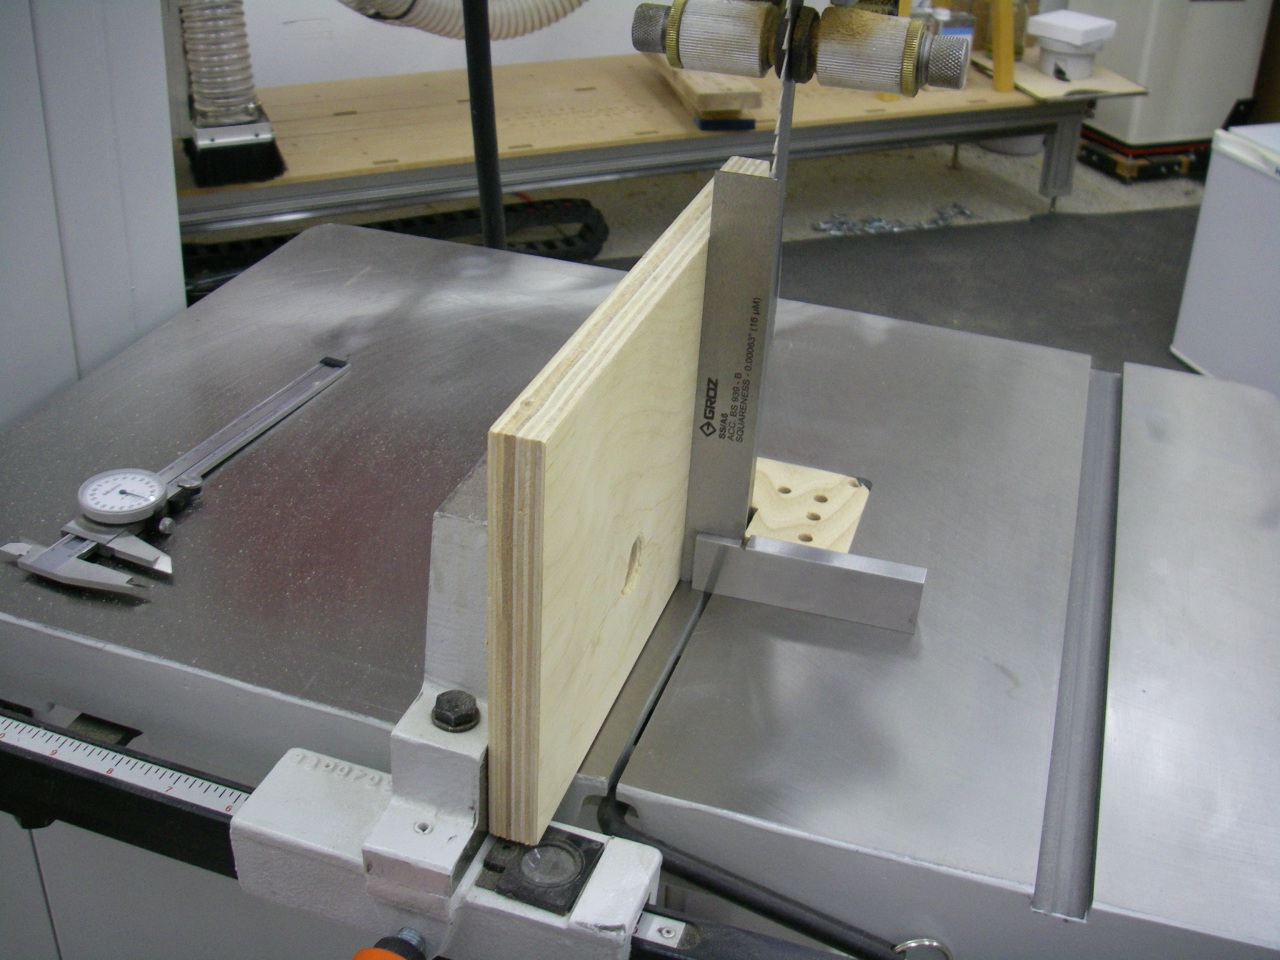
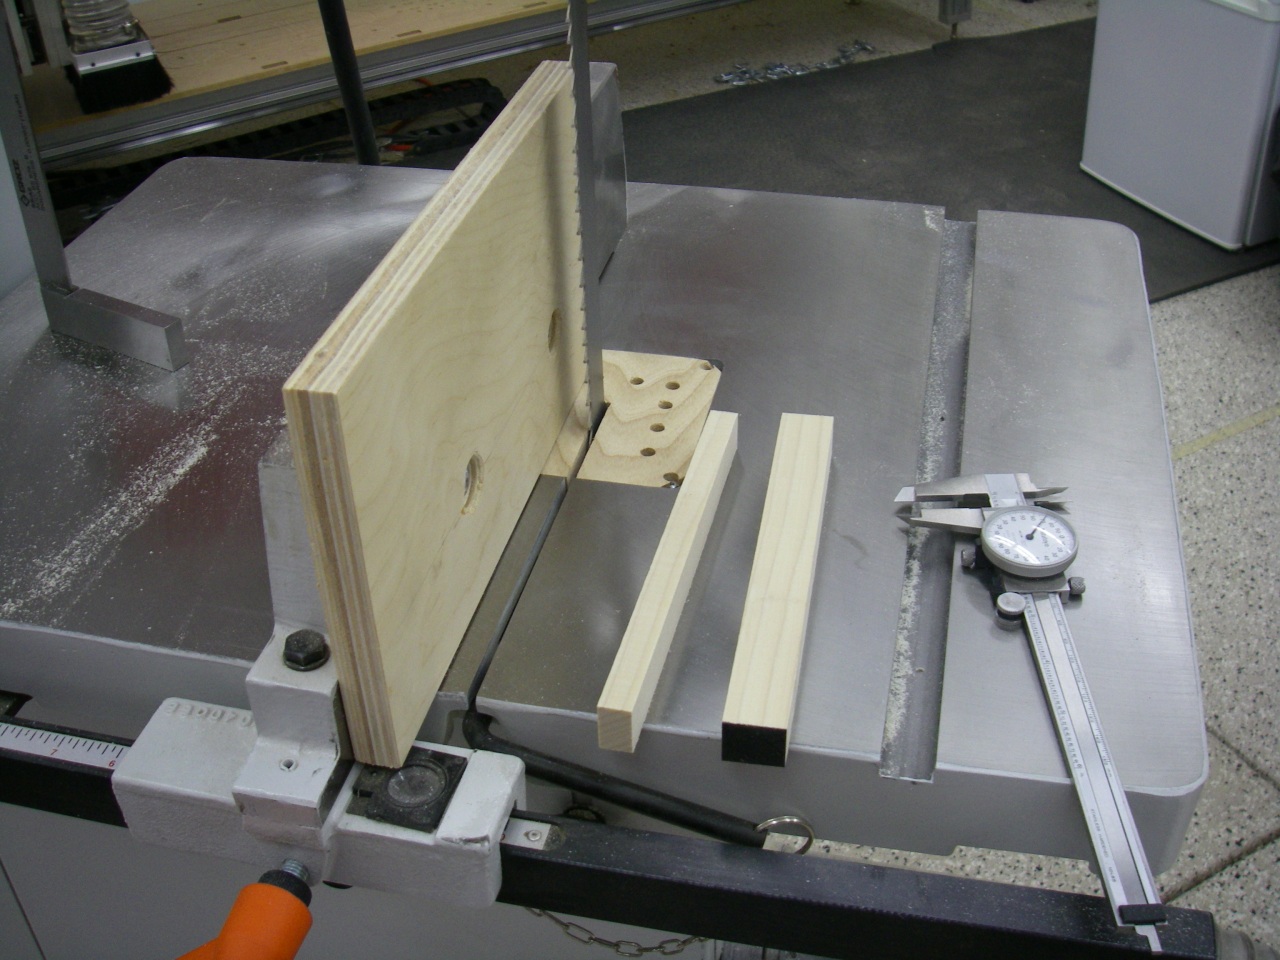
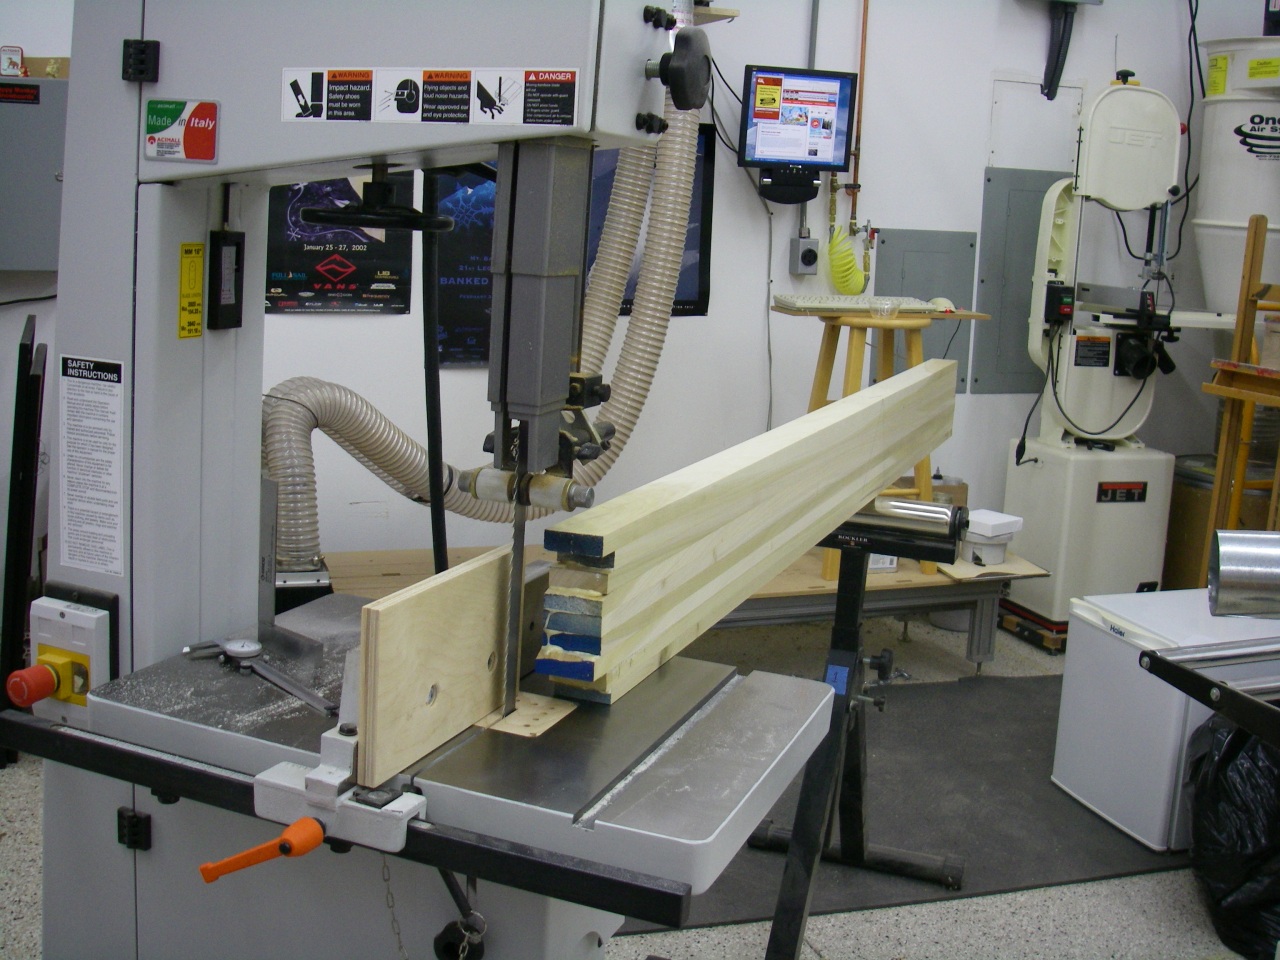
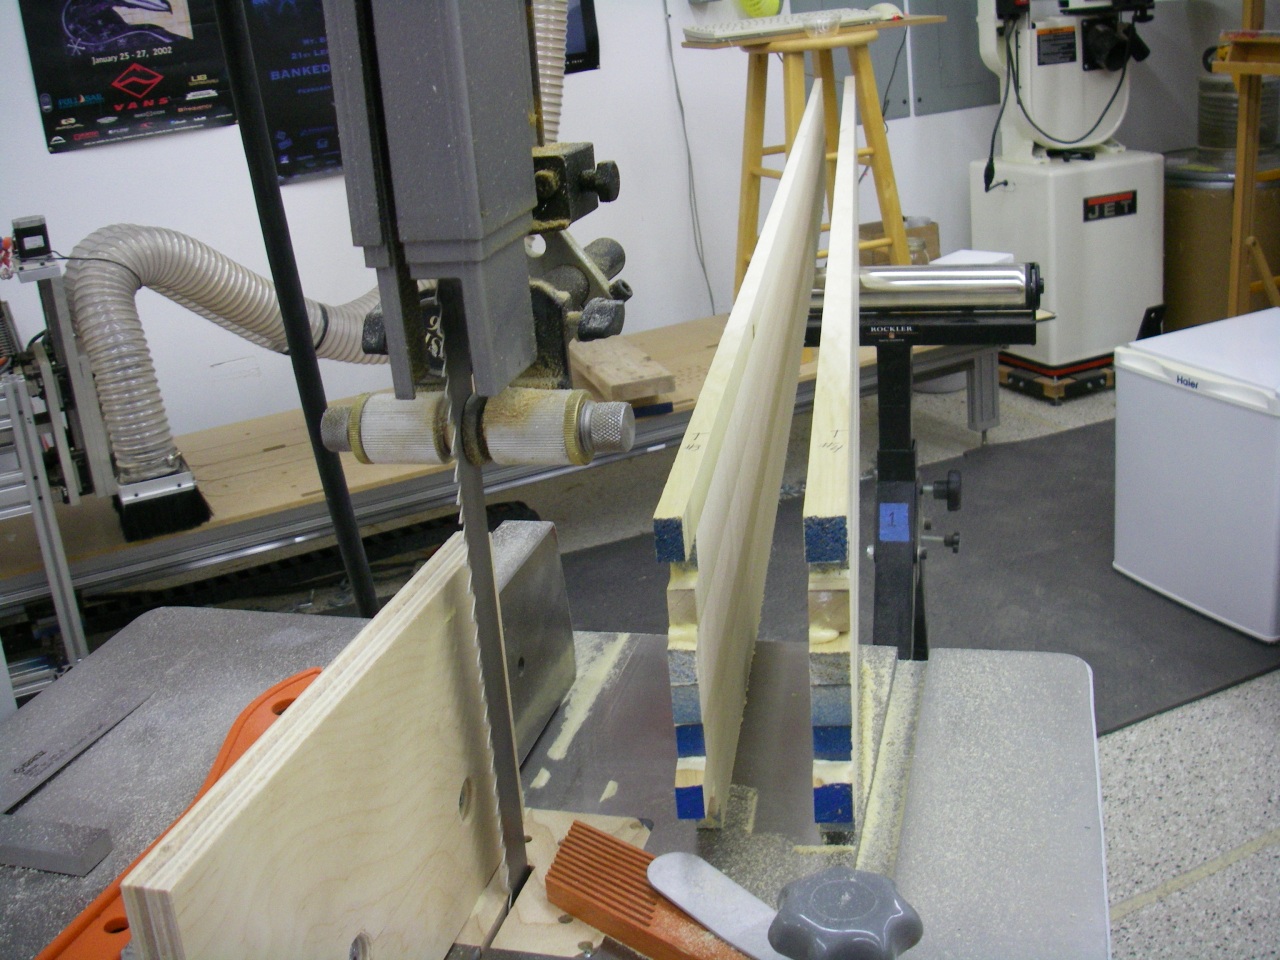
I set an extra high fence on my bandsaw and test it with scrap wood to ensure I’m getting the cut I want. I use a square to ensure the fence is perpendicular to the table. I use some adjustable wood “fingers” (Feather Board) to help apply pressure and keep the stack tight against the fence. Outfeed rollers are required to support the stack since it is quite heavy.
Bandsaw setup #
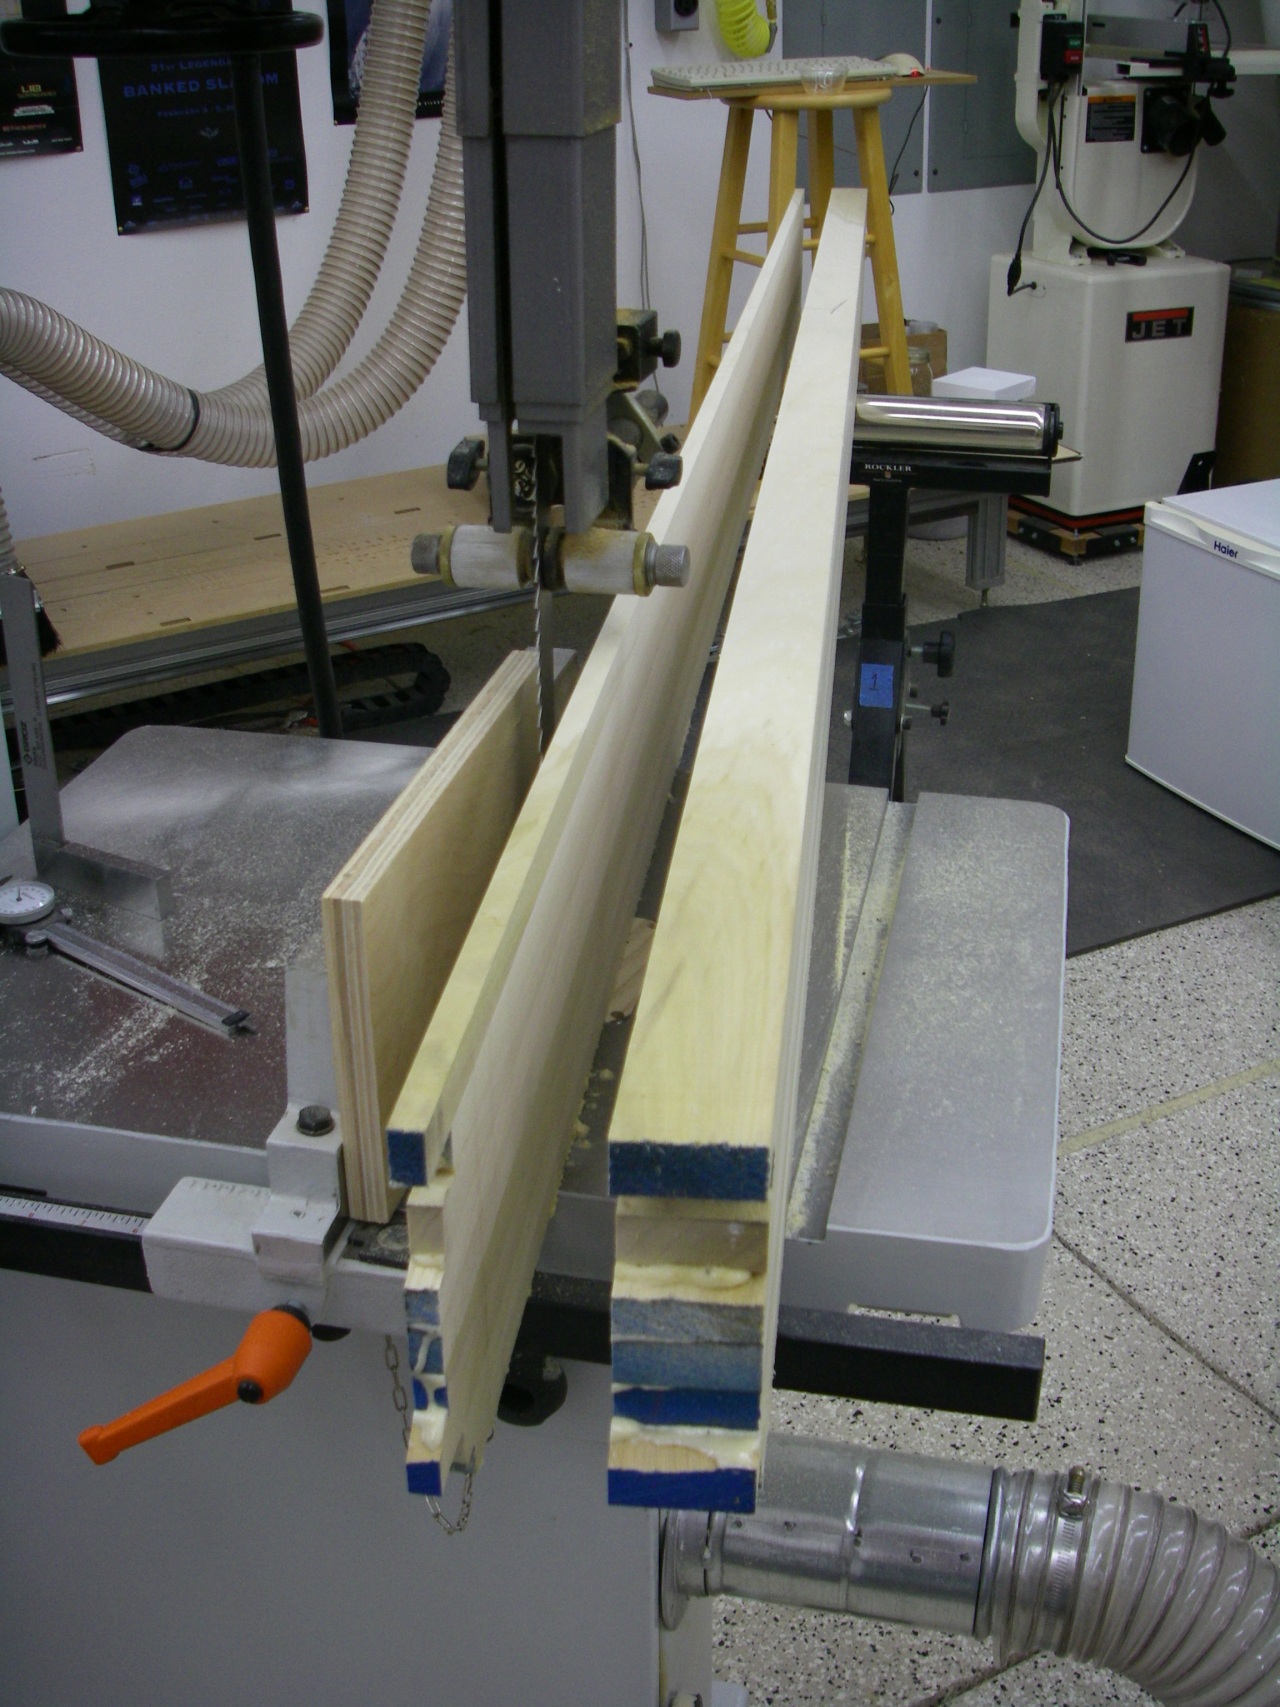
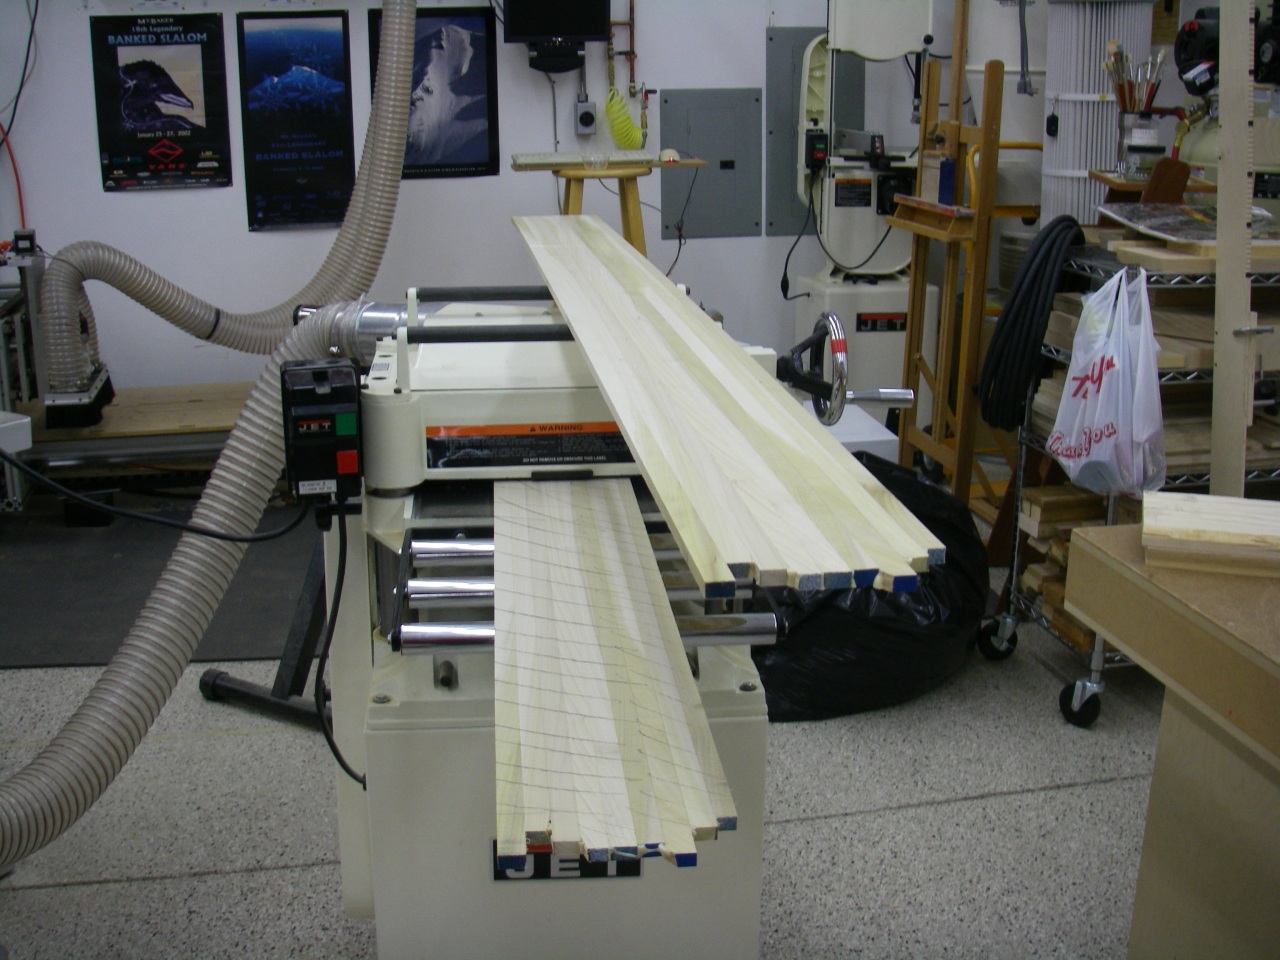
I cut the first slice. That slice has one good face from the jointer earlier, and one rough face from the bandsaw. It is labeled #1, and I’ll number the next three as they come off the bandsaw. If I were to slice #2 now there would be two problems: first, the rough surface against the fence might transfer any mistake on the first slice to the second, and second slice #2 would have two rough surfaces. Because the slice is thin and long it is difficult to work on the jointer, and thus it would be very difficult to give this slice two good surfaces later. So, after the first slice I take the stack back to the planer and cleanup the newly rough surface.
First slice and stack cleanup #
I return the stack to the bandsaw for slice #2, ensuring I pass the stack thru the saw in the same orientation as slice #1. Cleanup on the planer again.
Second slice and stack cleanup #
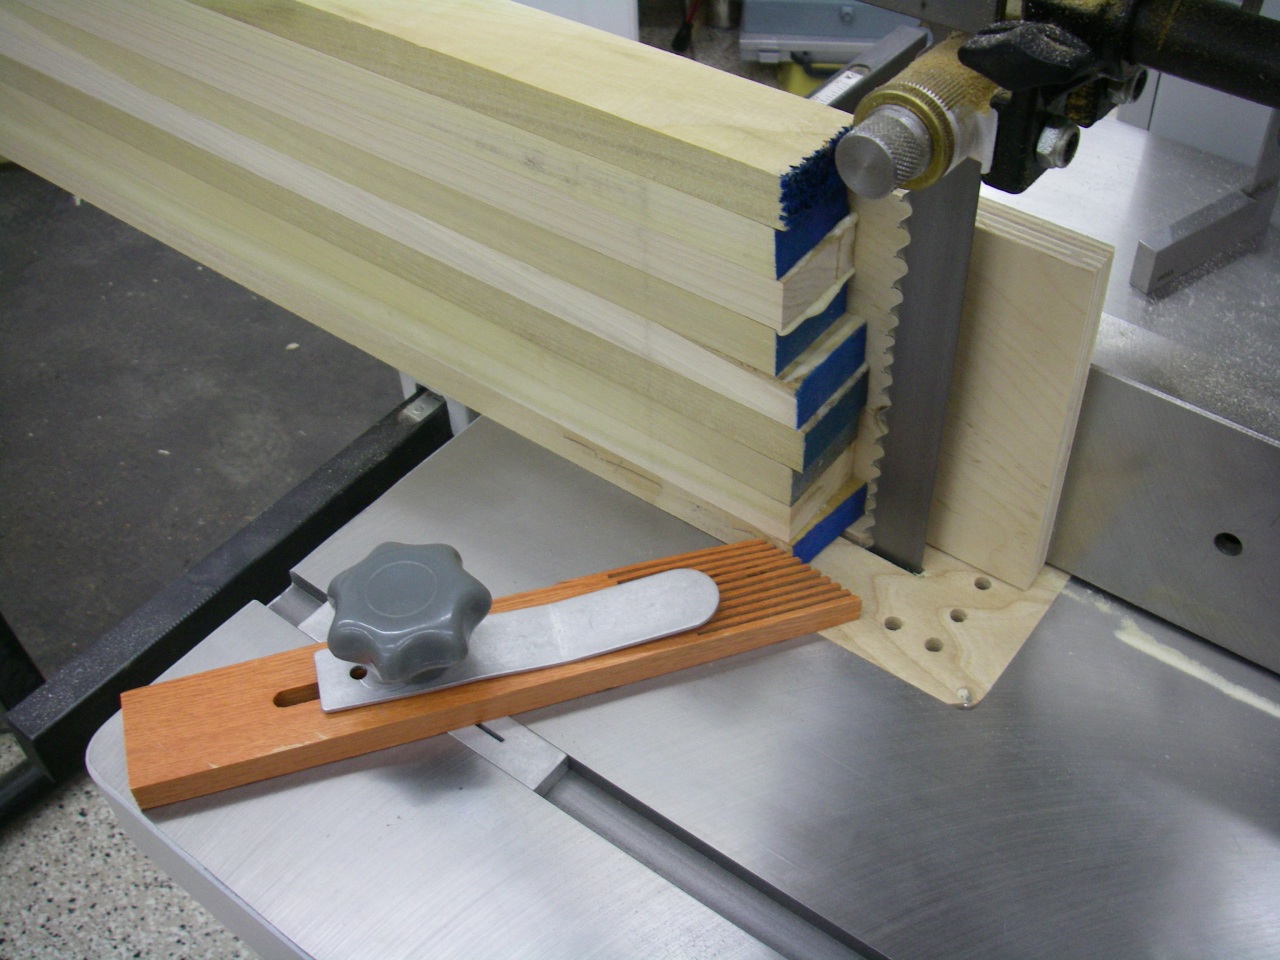
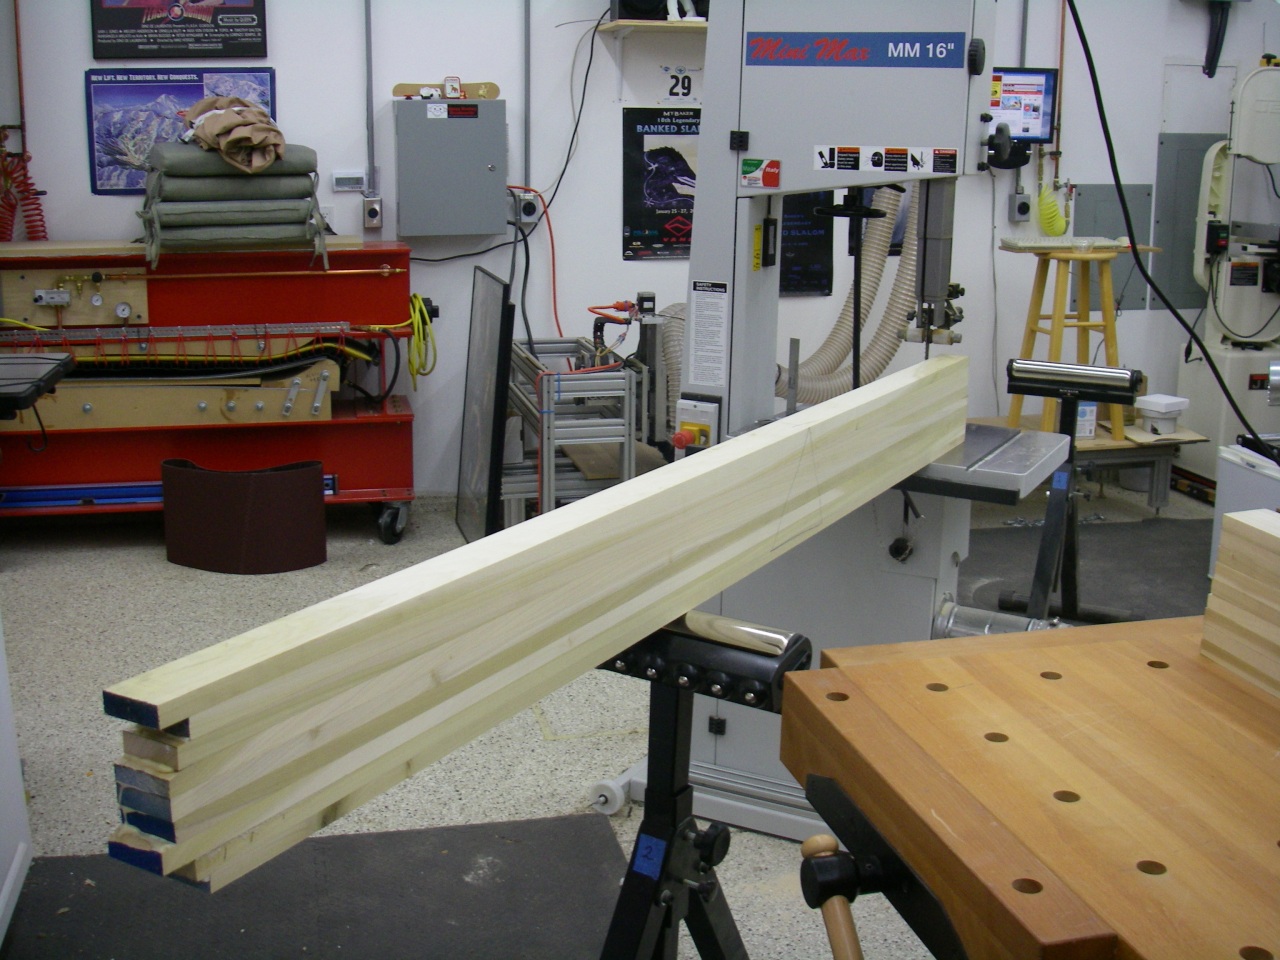
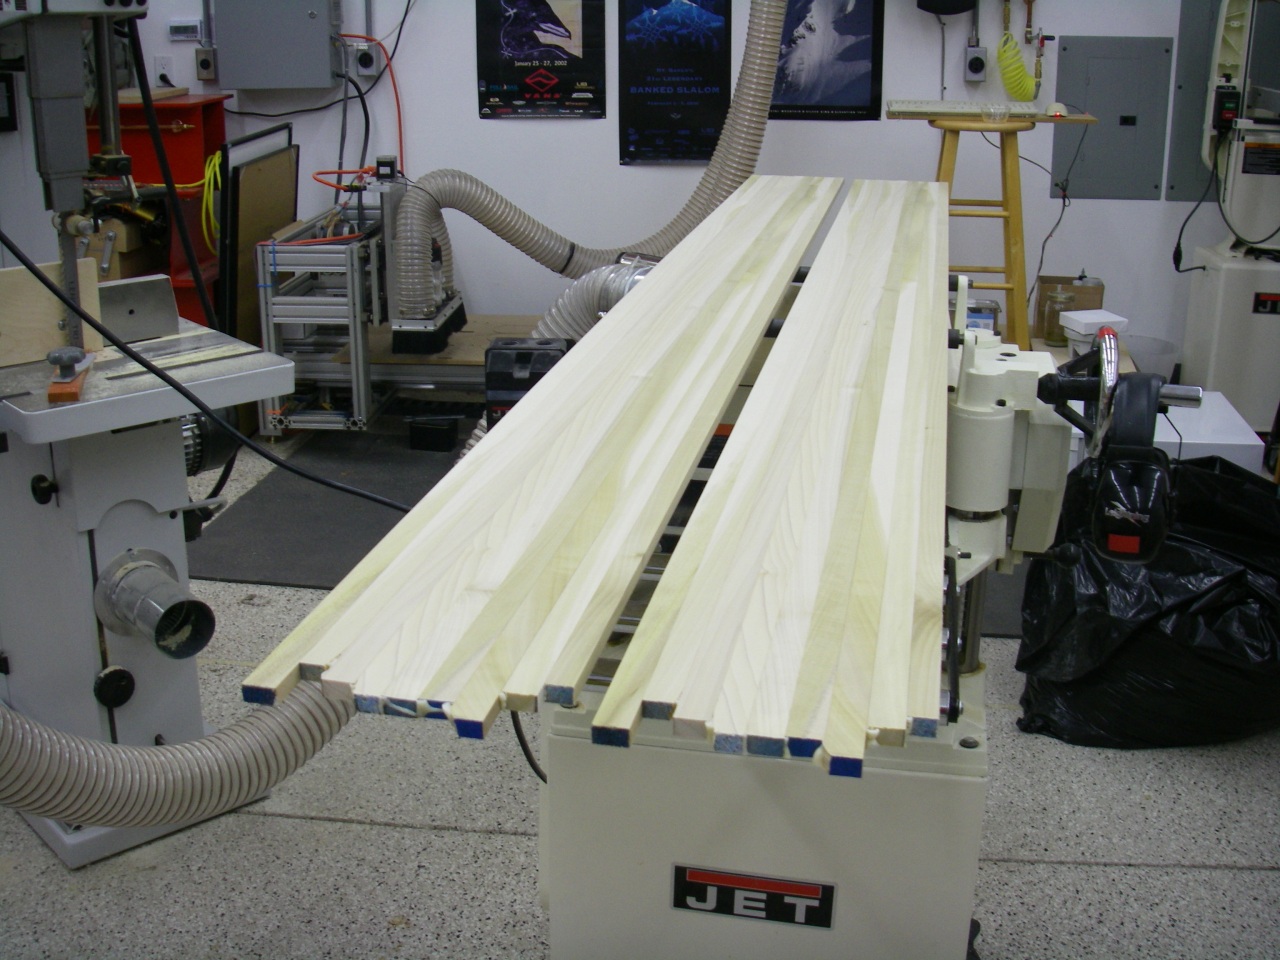
Rinse and repeat for slice #3 and the left over is slice #4. Note that slice #4 has one good surface because we ensured both wide faces of the stack had good surfaces when preparing the stack.
Third and fourth slices, and all four off the bandsaw #
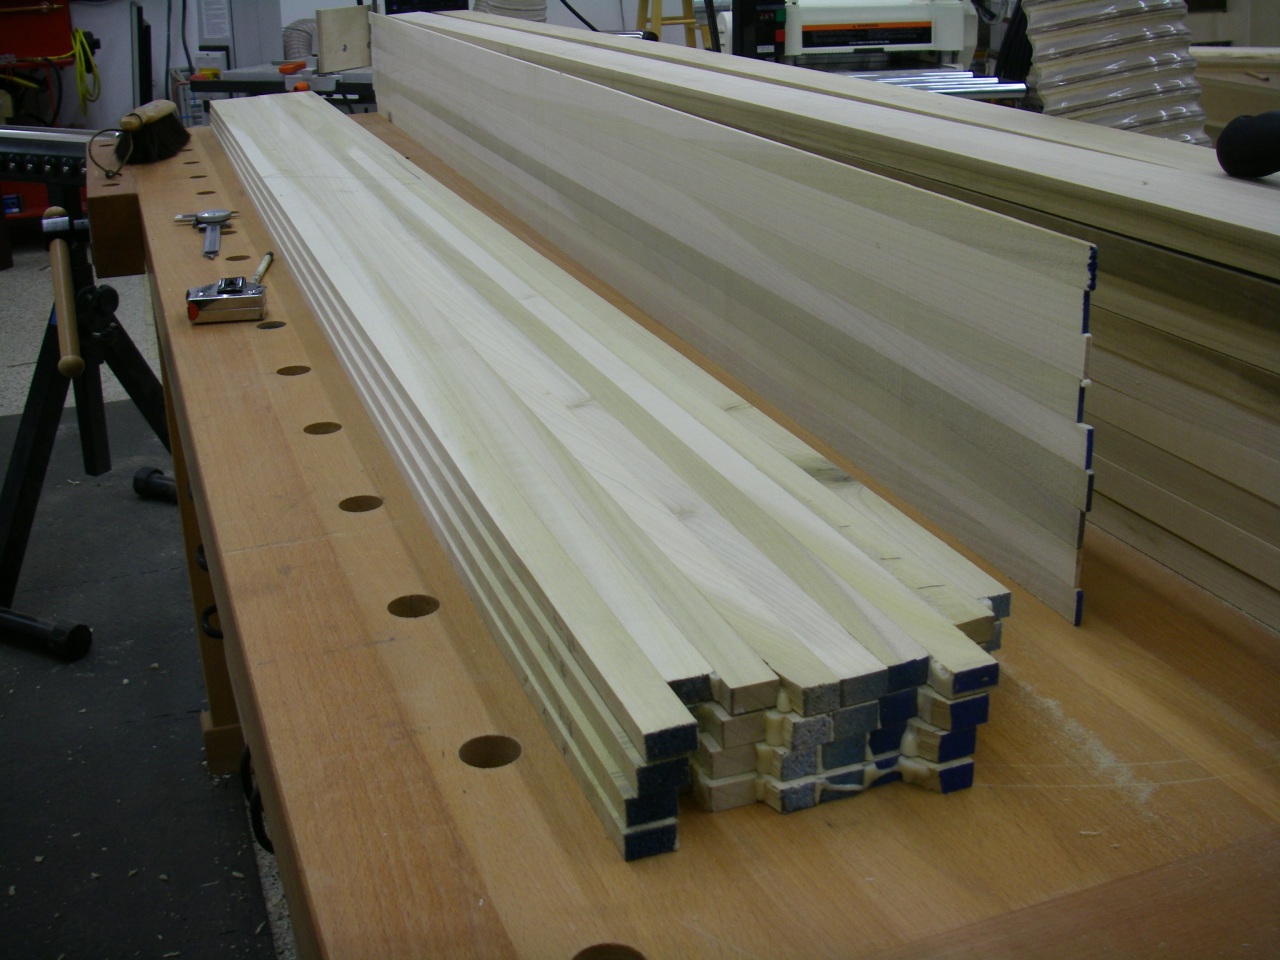
I now have four slices, each with one good surface. The slices will be treated in pairs from now on: #1 and #2 together, and #3 with #4.
Finishing the slices #
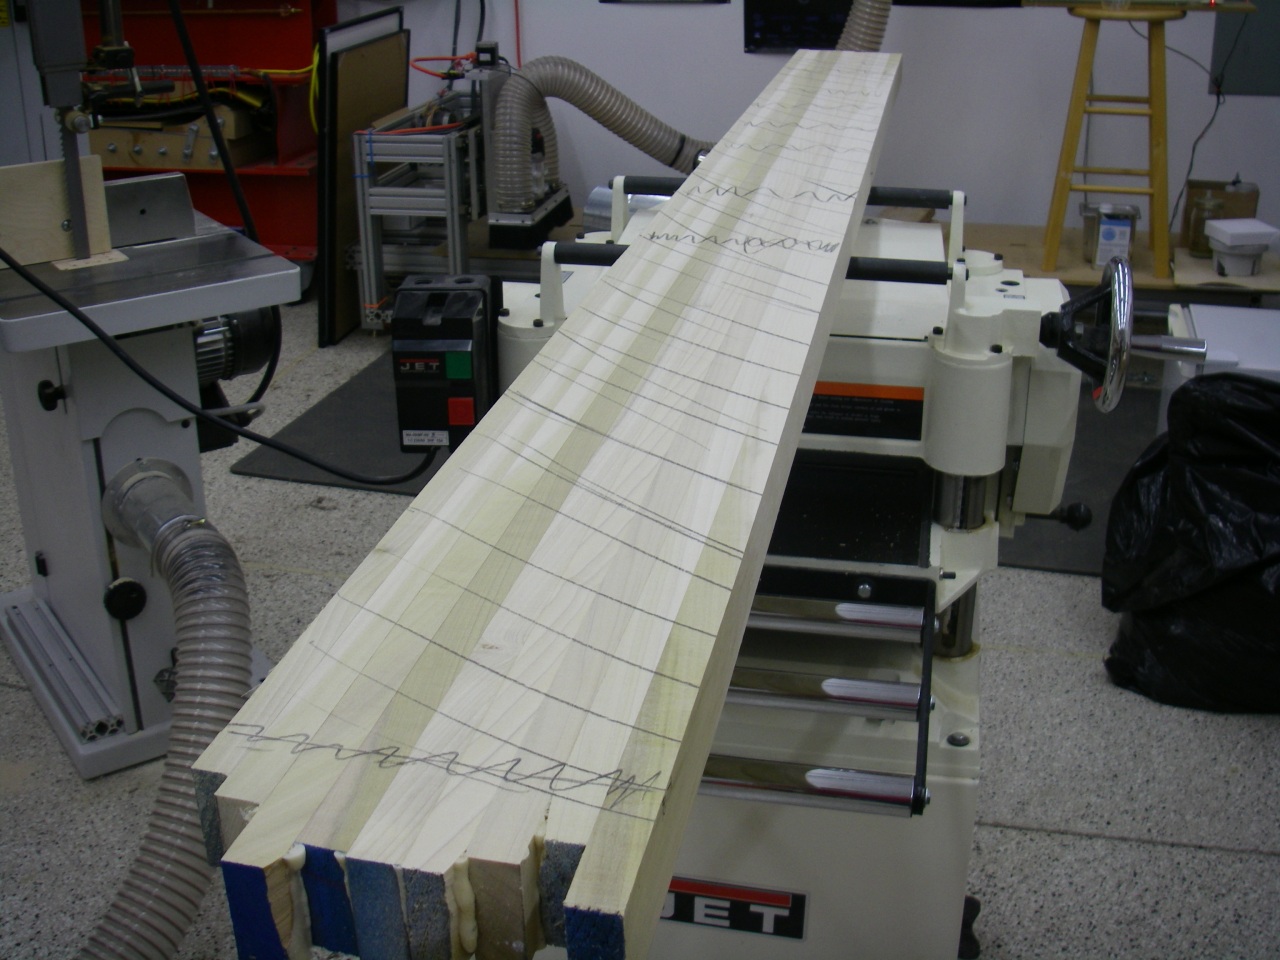
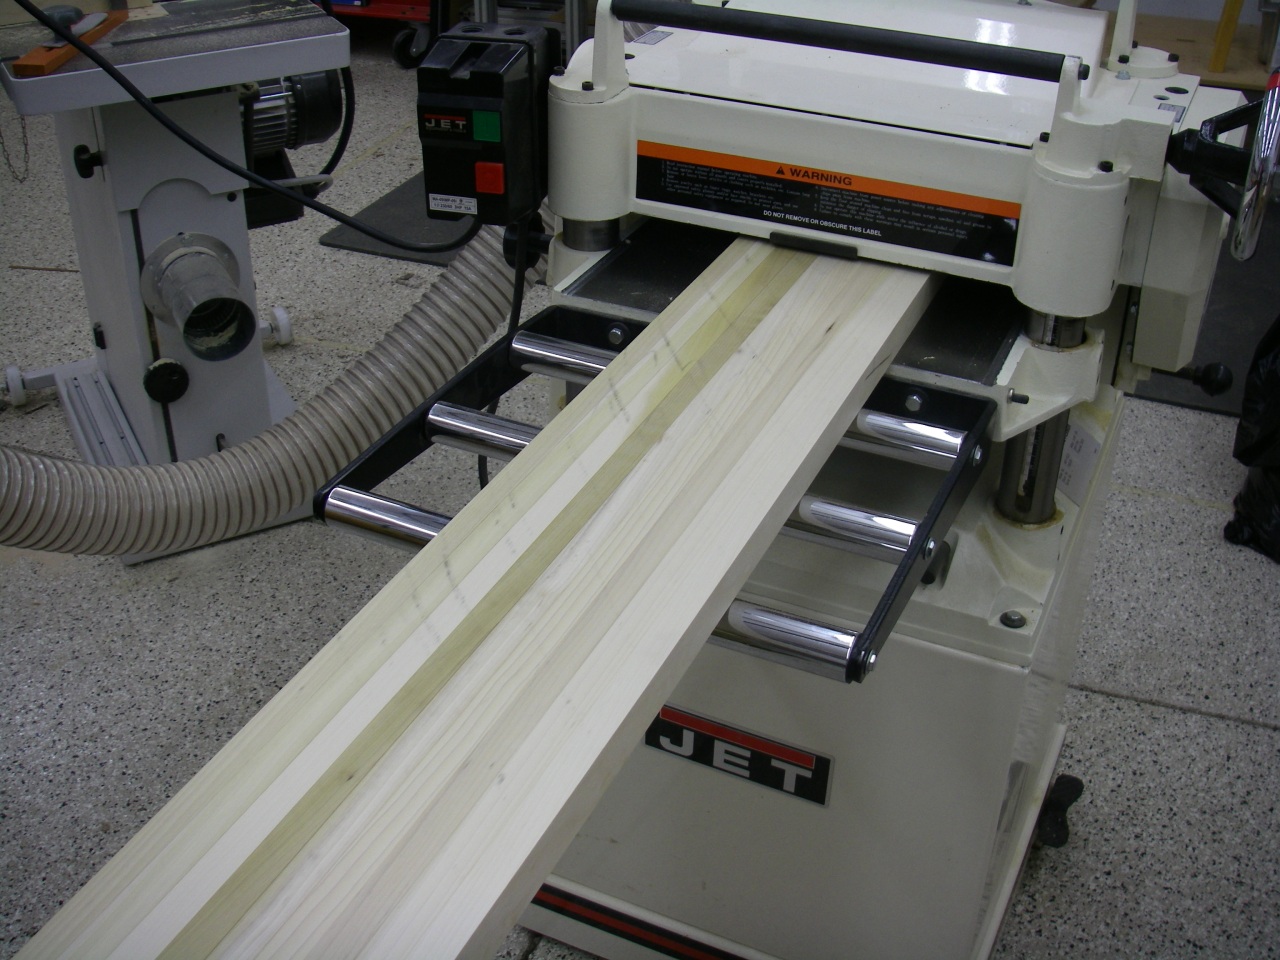
Now the slices need to get their rough sides cleaned up. Two slices will become one core blank, so each pair of slices need to be the same thickness. The pairs can be different thicknesses, though, and I recommend doing a single pair at a time to ensure you get the maximum thickness you can out of each set. Using the planer, pass the thicker of slice #1 or slice #2 thru until the planer just starts hitting the surface. Now, adjust the planer down in small increments and pass each slice thru, one after the other, until both slices are perfect. Always keep the original surface from the jointer facing down, and stop as soon as both slices are flat. I mark the wheel on my planer with a bit of tape, and on my planer a “small increment” is roughly 1/8th of a turn.
Cleaning up a pair of slices #
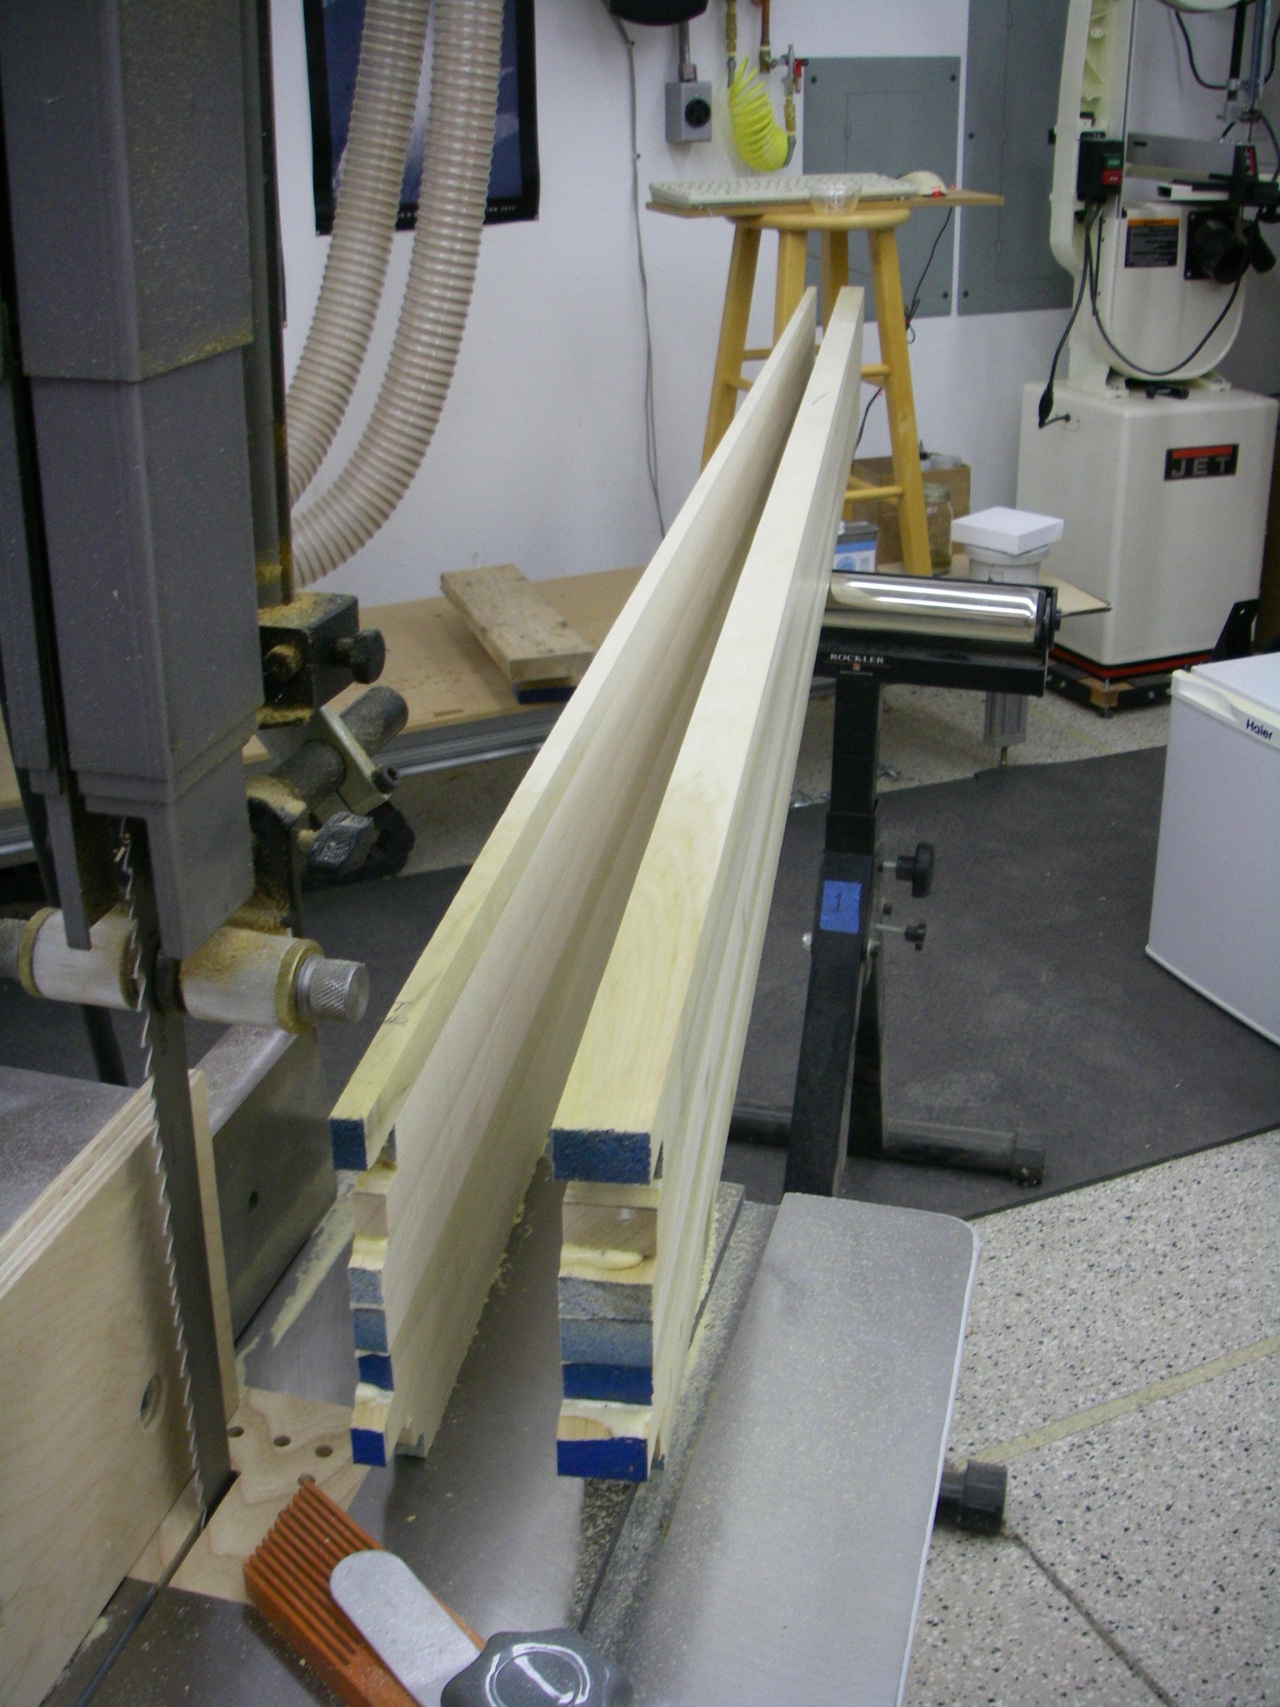
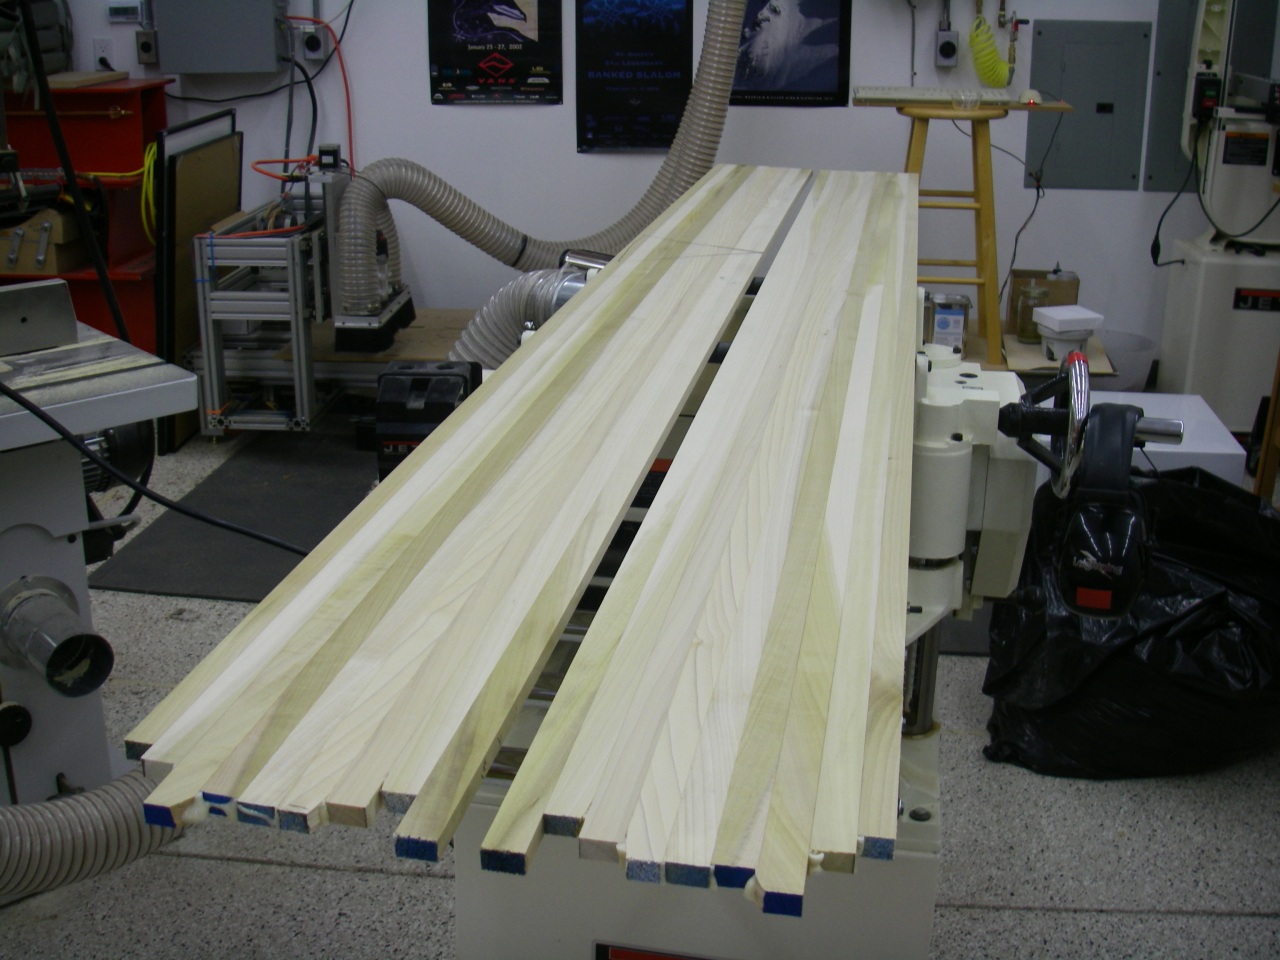
Complete slices have two perfectly flat and parallel faces, and one edge that is also perfectly flat (it was the base of the stack.) Flipping one of the slices over bookmatches them: the center strip is from the same original board, the next out is from the same original board, and so on. This will yield a core with wood that has fairly symmetrical properties from edge to edge. It won’t be perfect, since there is always variance even within a single board, but it’s as close as we can practically get!
Slices complete and bookmatching #
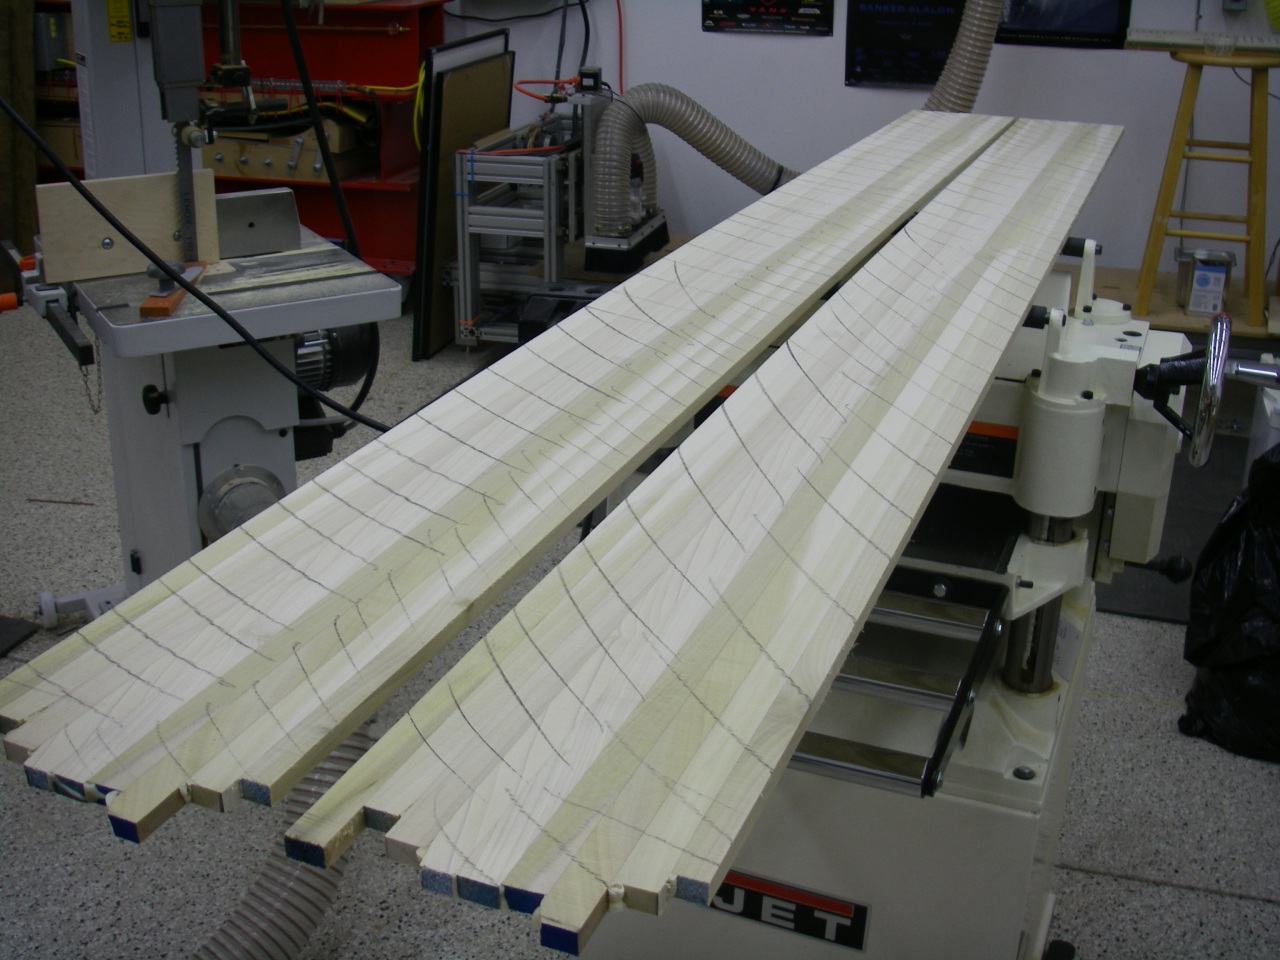
If you find that there is a poor spot near the edge of one slice, or at the end of a slice, don’t go crazy trying to get rid of it. Look at how the slices will be assembled into a final blank and determine if a bad spot would likely be a problem given the final shape of a snowboard. If not, then leave it rough in that spot in favor of maintaining the overall thickness of the slices.
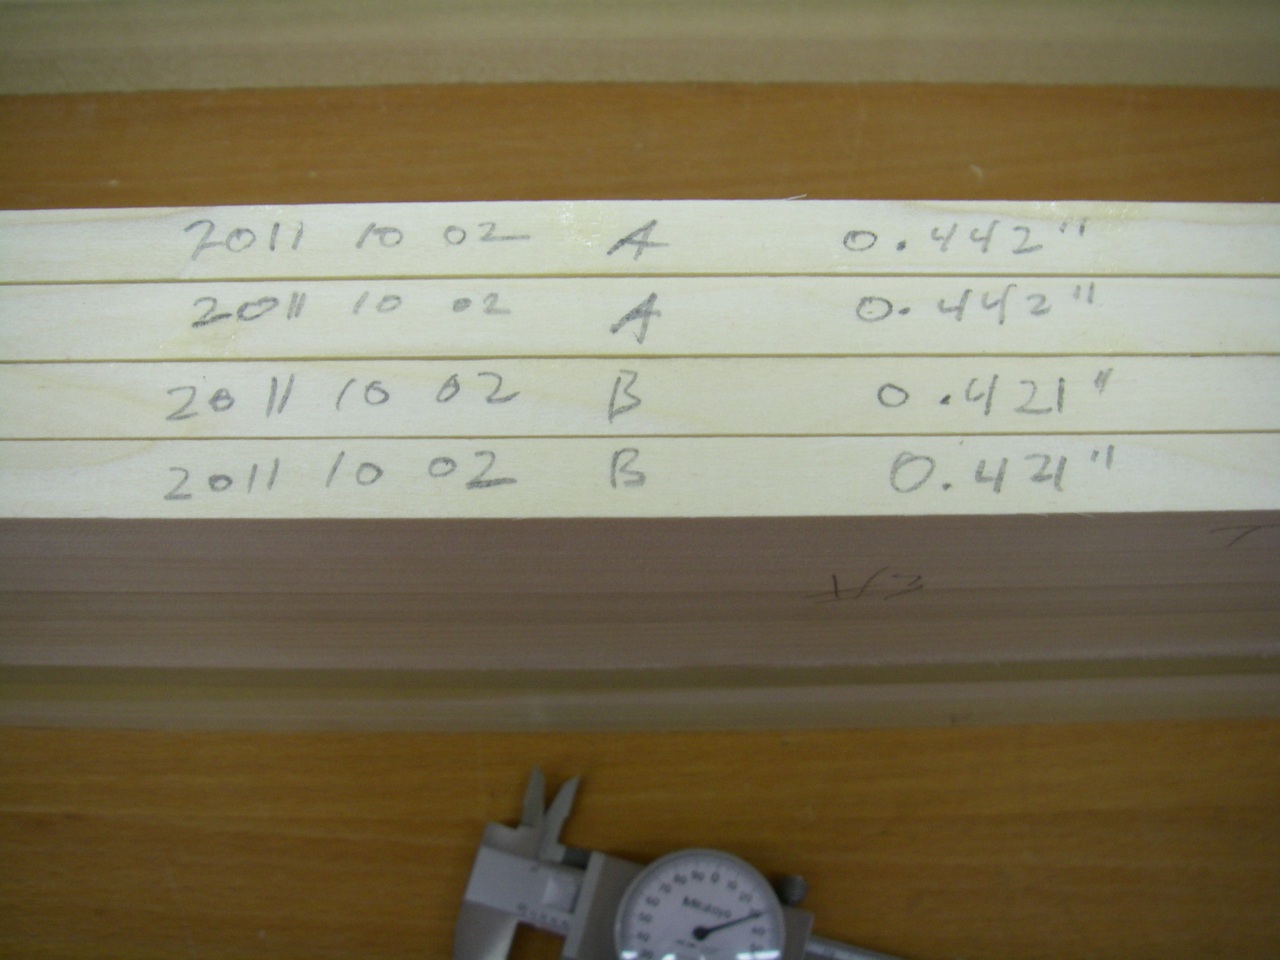
Finally, always label your slices clearly with their thickness and something to indicate that they are a pair. I usually use the date of production, and a letter for each pair as shown in the picture below. These slices came out quite thick for snowboards and will provide plenty of wiggle room as sidewalls are inlaid later on.